How to Install Flowpoint Tracking Code
Installing the Flowpoint Tracking code is a crucial initial step before getting any results with Flowpoint. Installing the tracking code allows Flowpoint to start capturing user events from your website and feed the machine learning algorithms and generate your analysis.
Installing the tracking code can be done in several ways depending on how your website has been built and what technology has been used.
We are one click away if you need any help with the installation process.
We've identified the following popular methods of integrating Flowpoint:
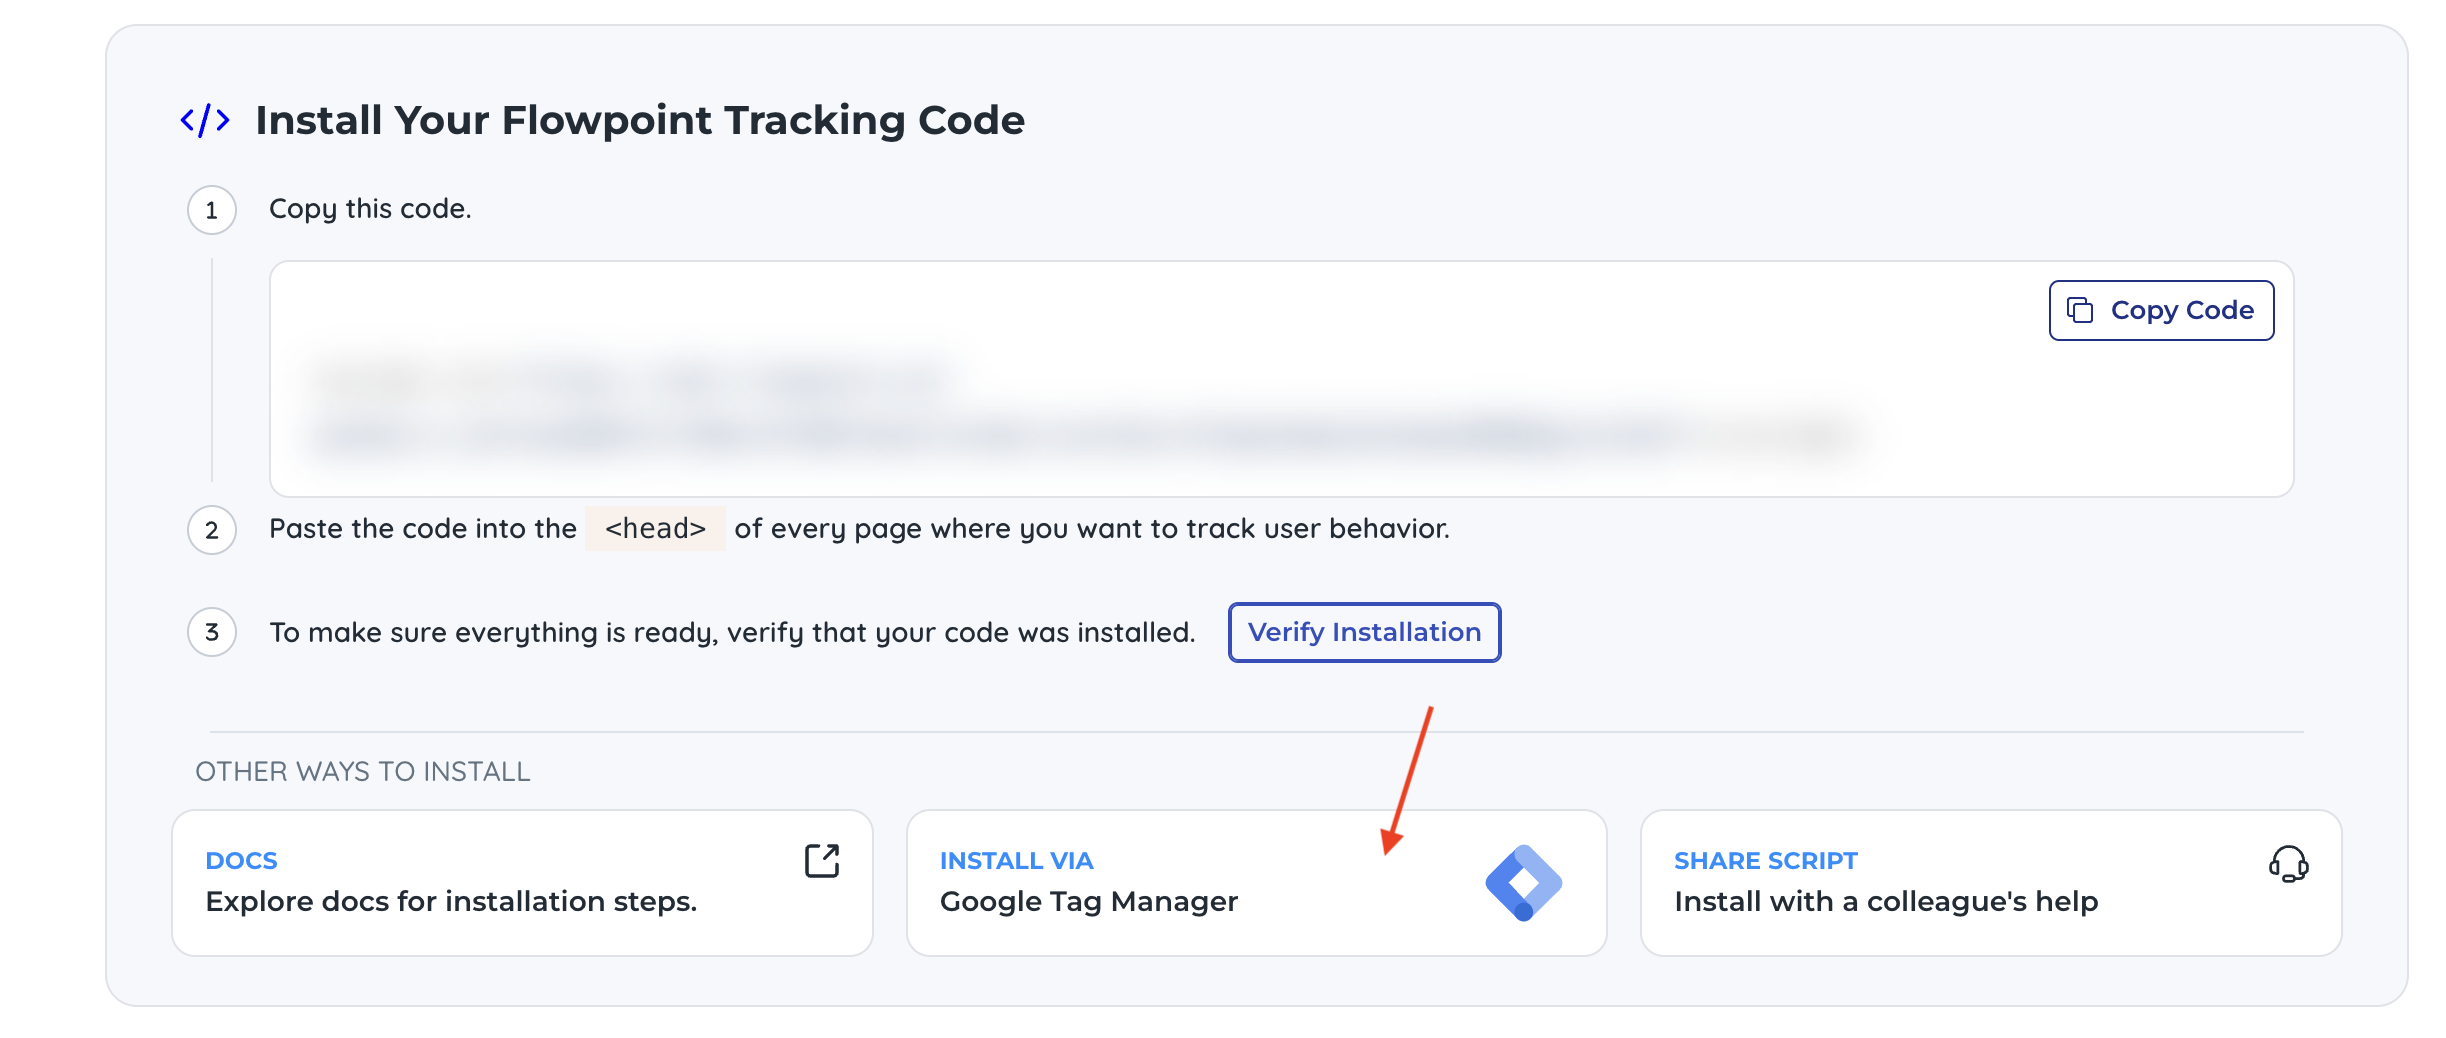
Install directly via the Google Tag Manager (recommended)
- Go to your overview page (opens in a new tab) and click on "Install via Google Tag Manager."
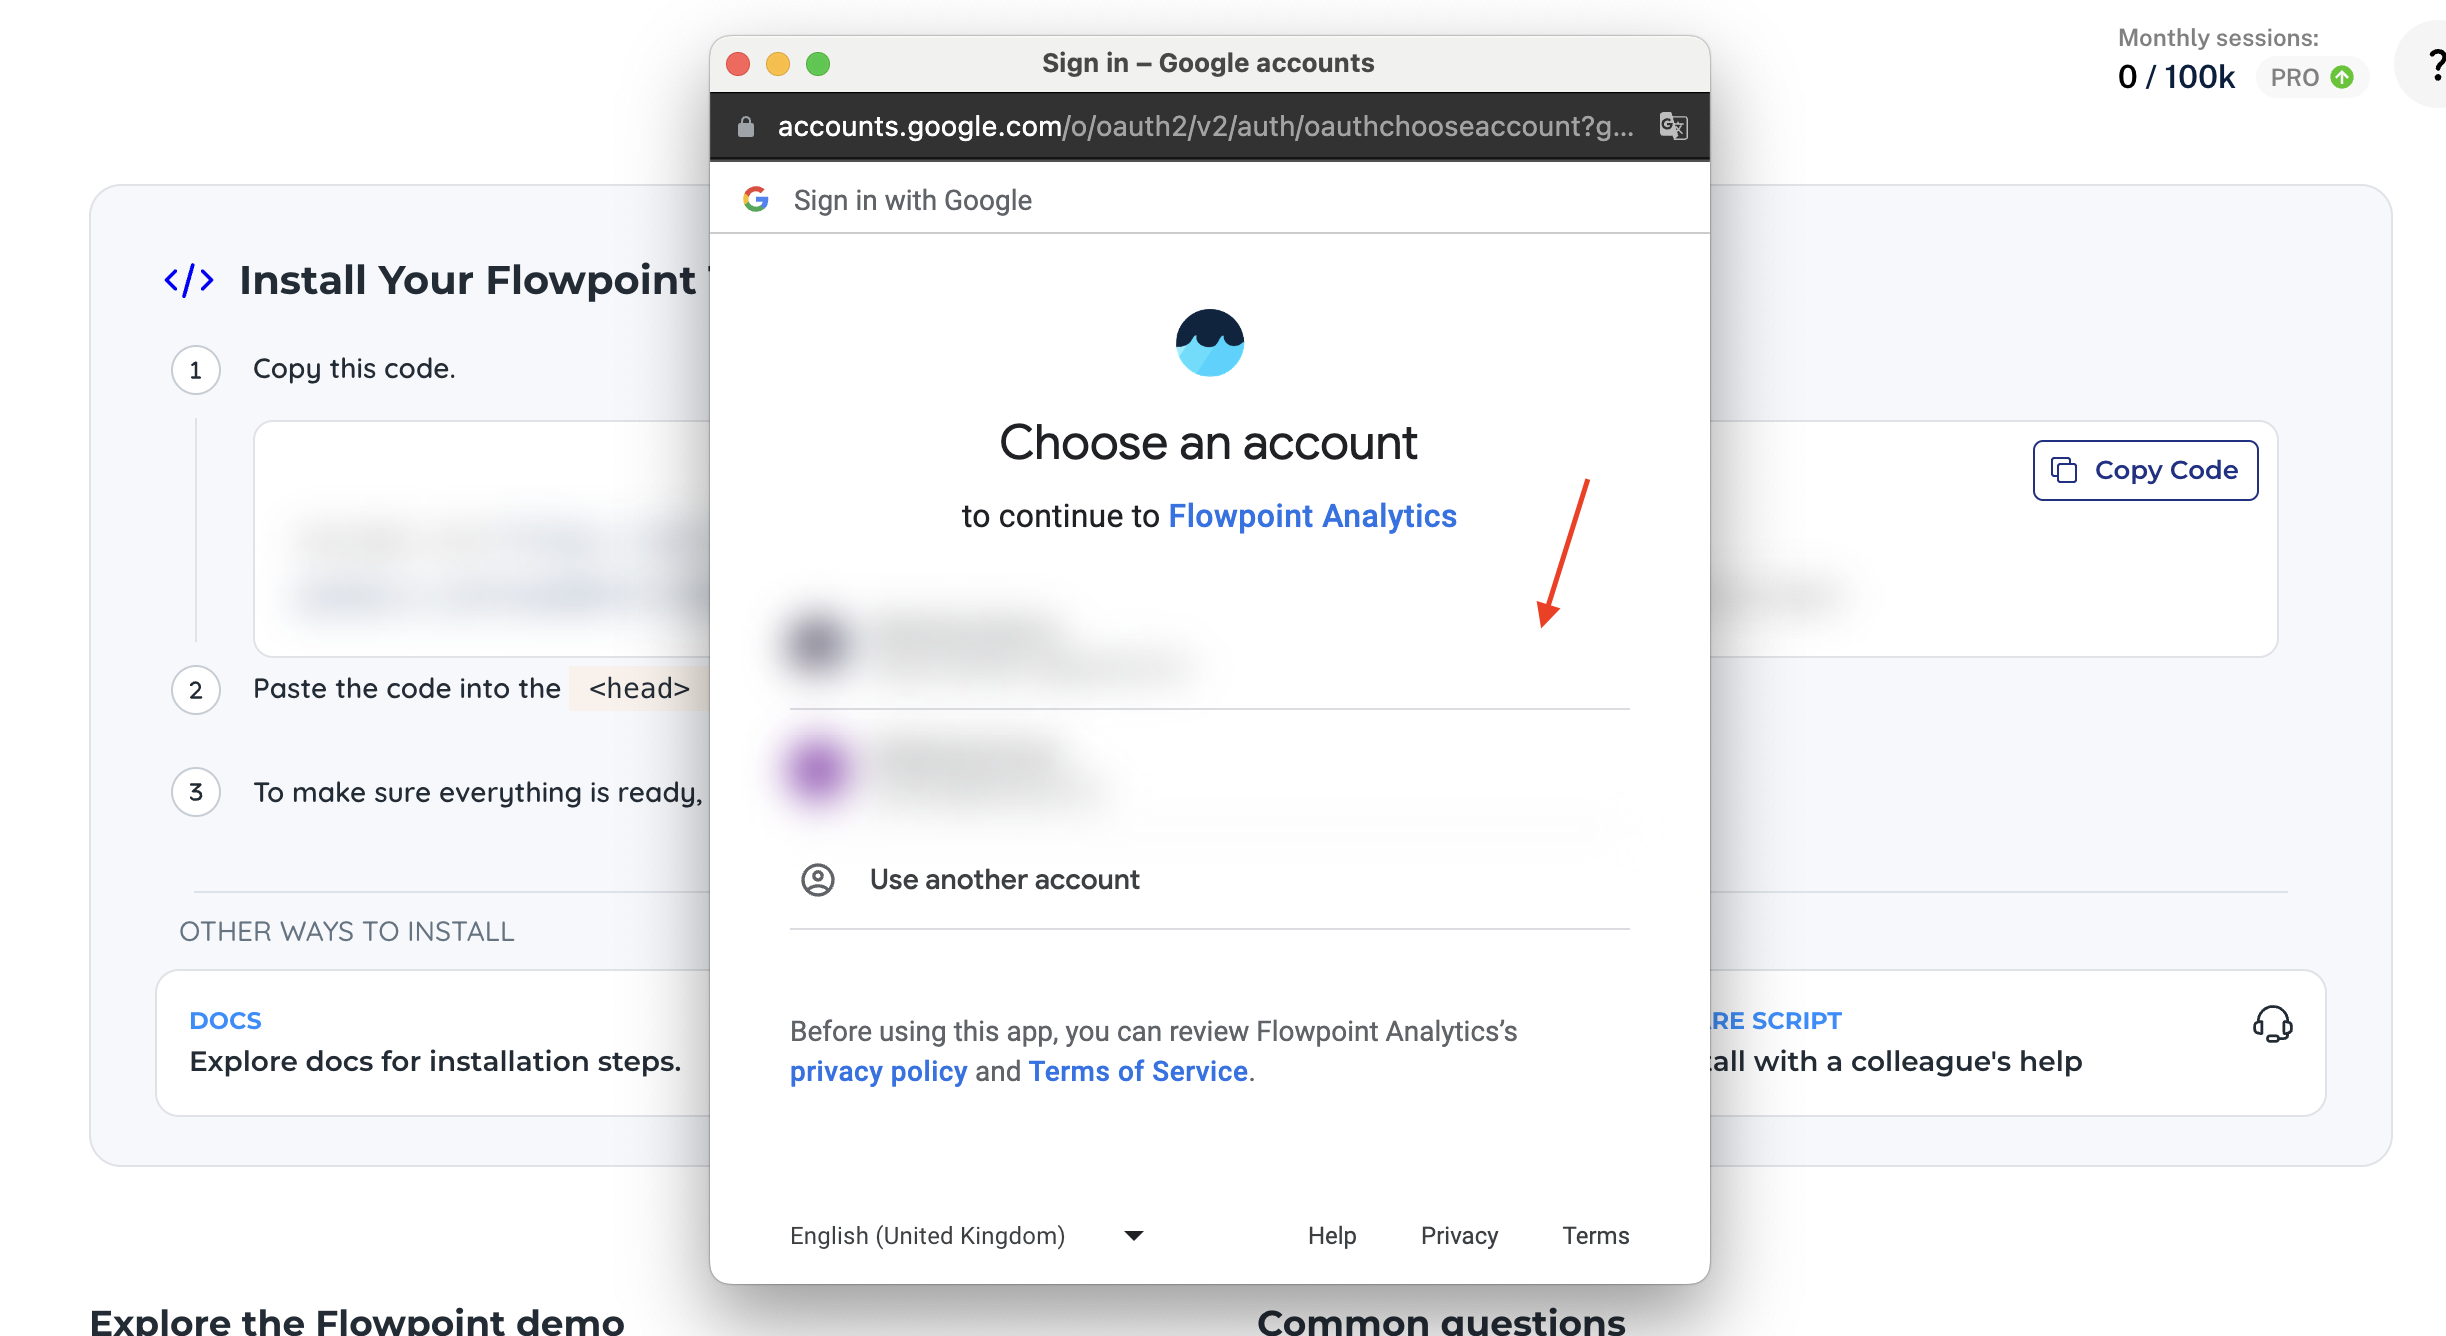
- Choose your Google account connected to the GTM container on your site.
-
Select all the access permissions for Flowpoint and click Continue.
-
Pick your GTM account and tag container, then click "Create and Publish Tag."

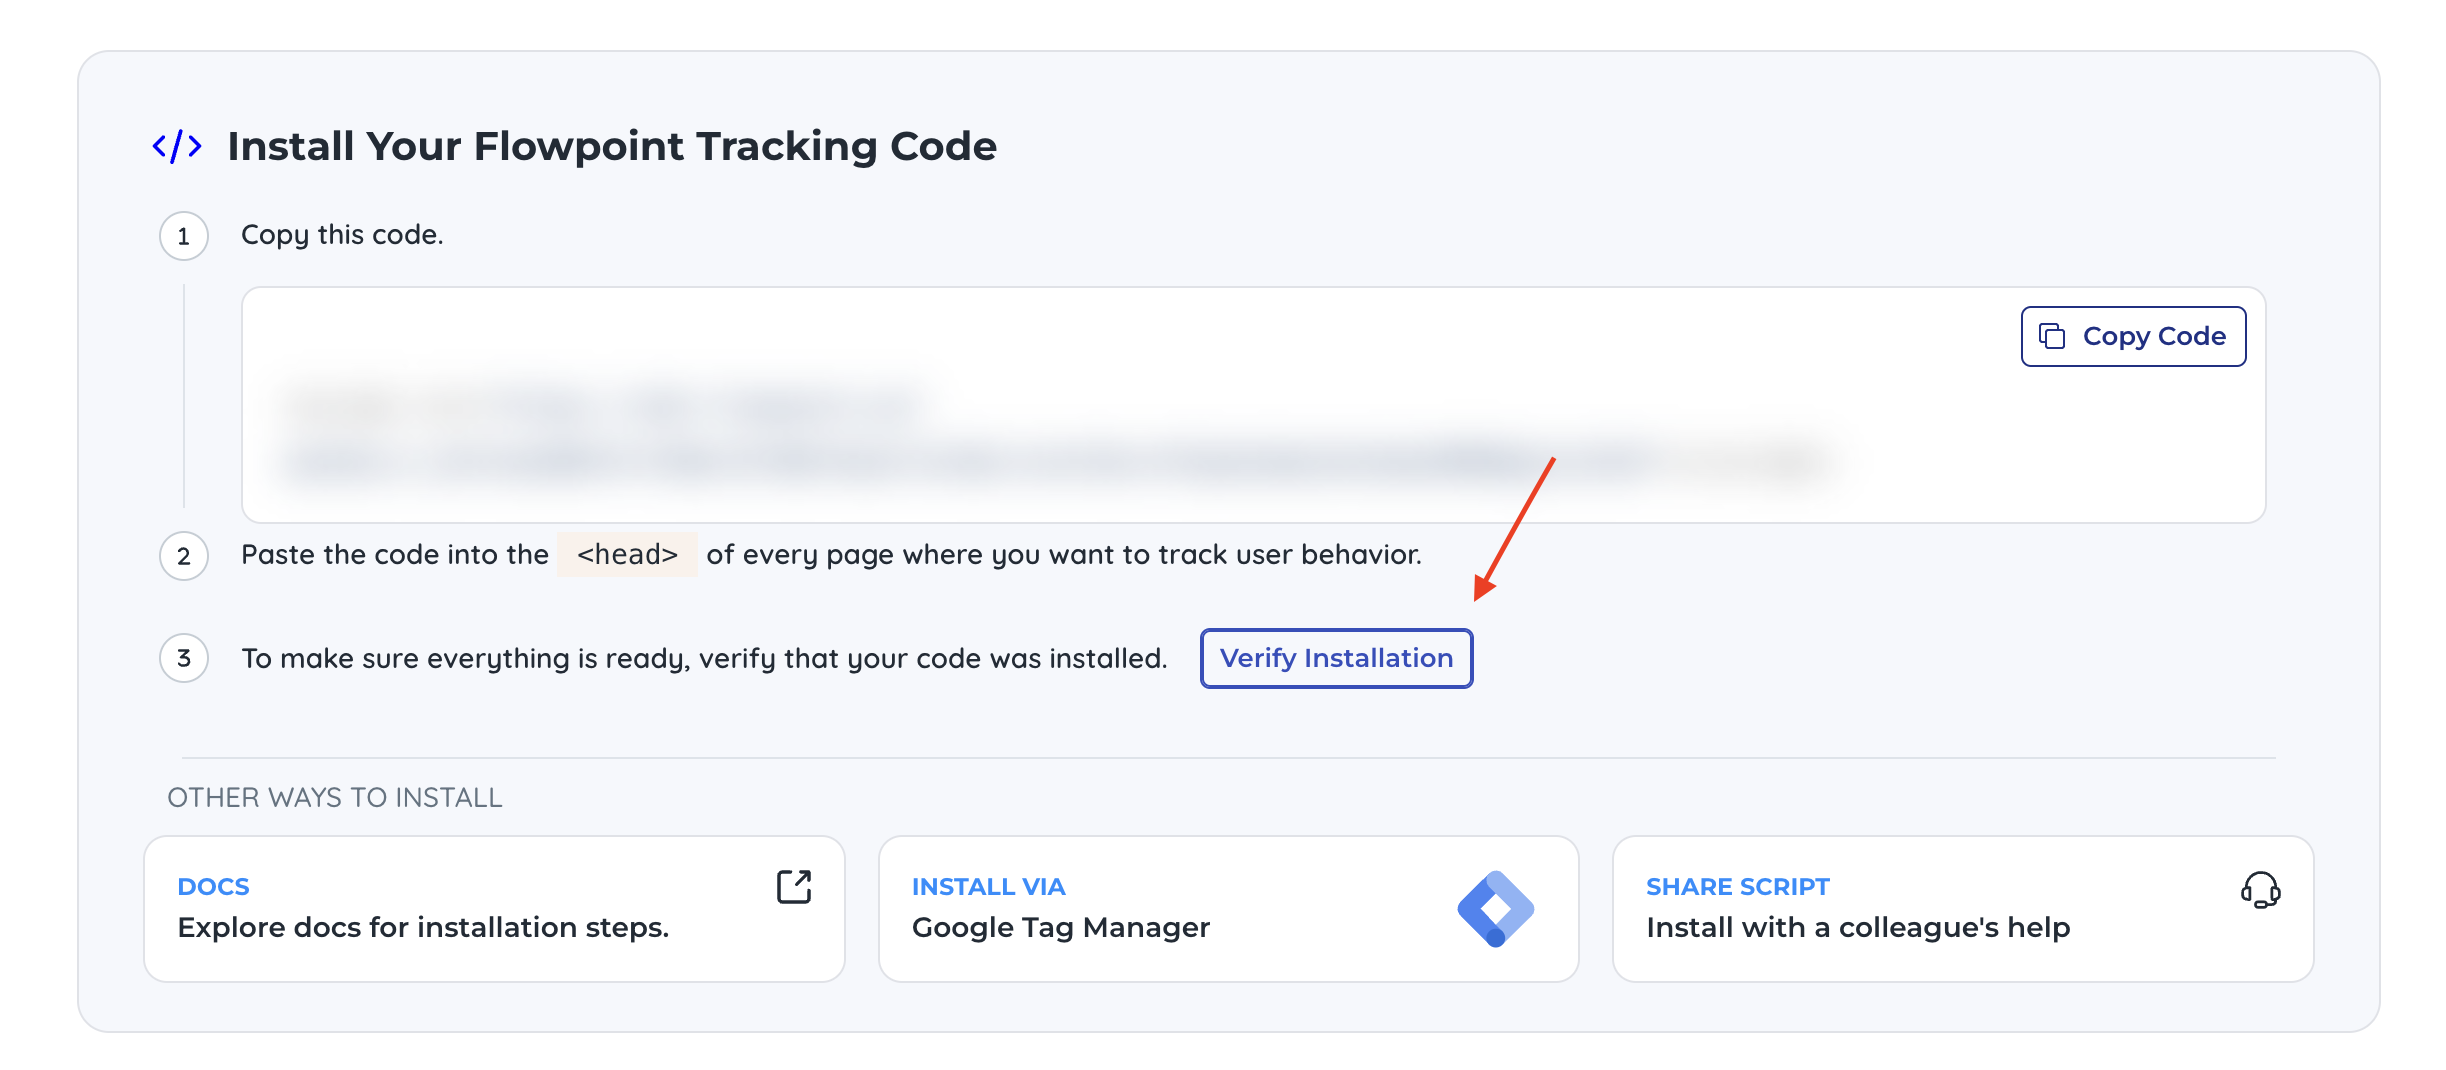
- Wait a few minutes for Google to respond, then click Verify Installation.
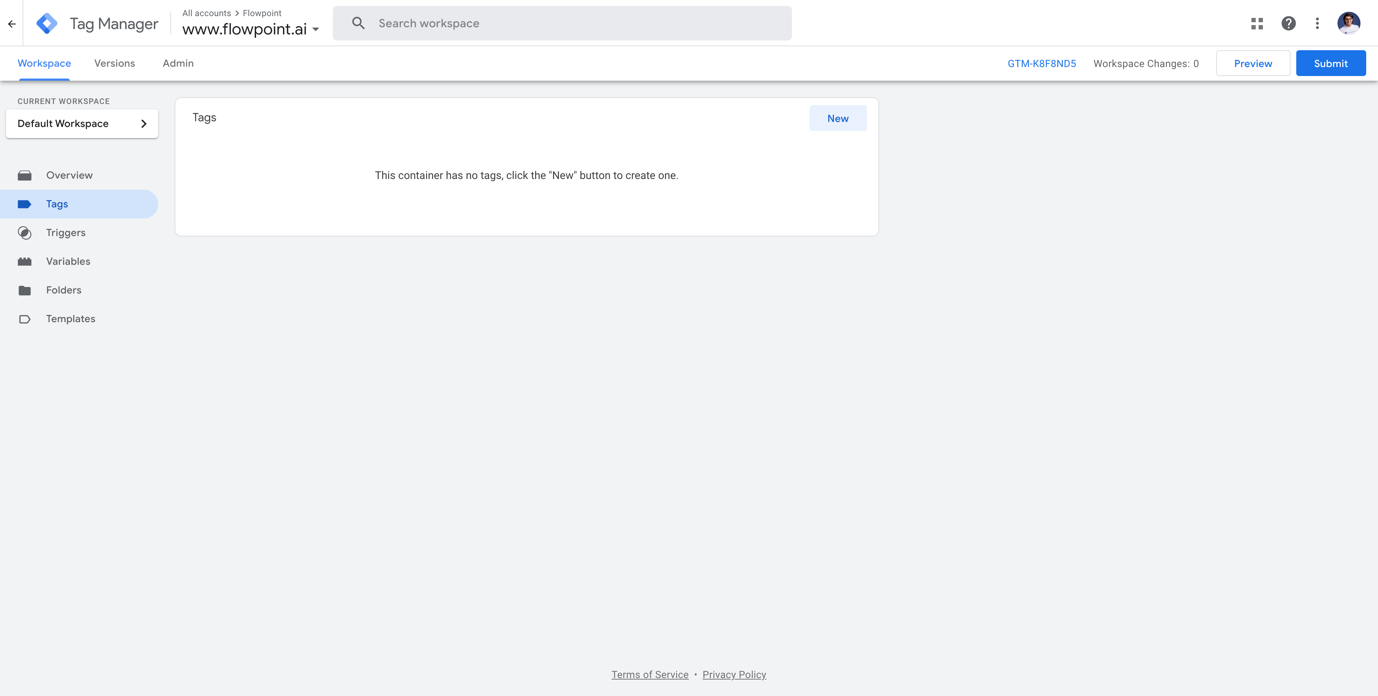
Install via Google Tag Manger
- Go to “Tags” tab and click on “New”
- Click on the Edit pencil button on the “Tag Configuration” section
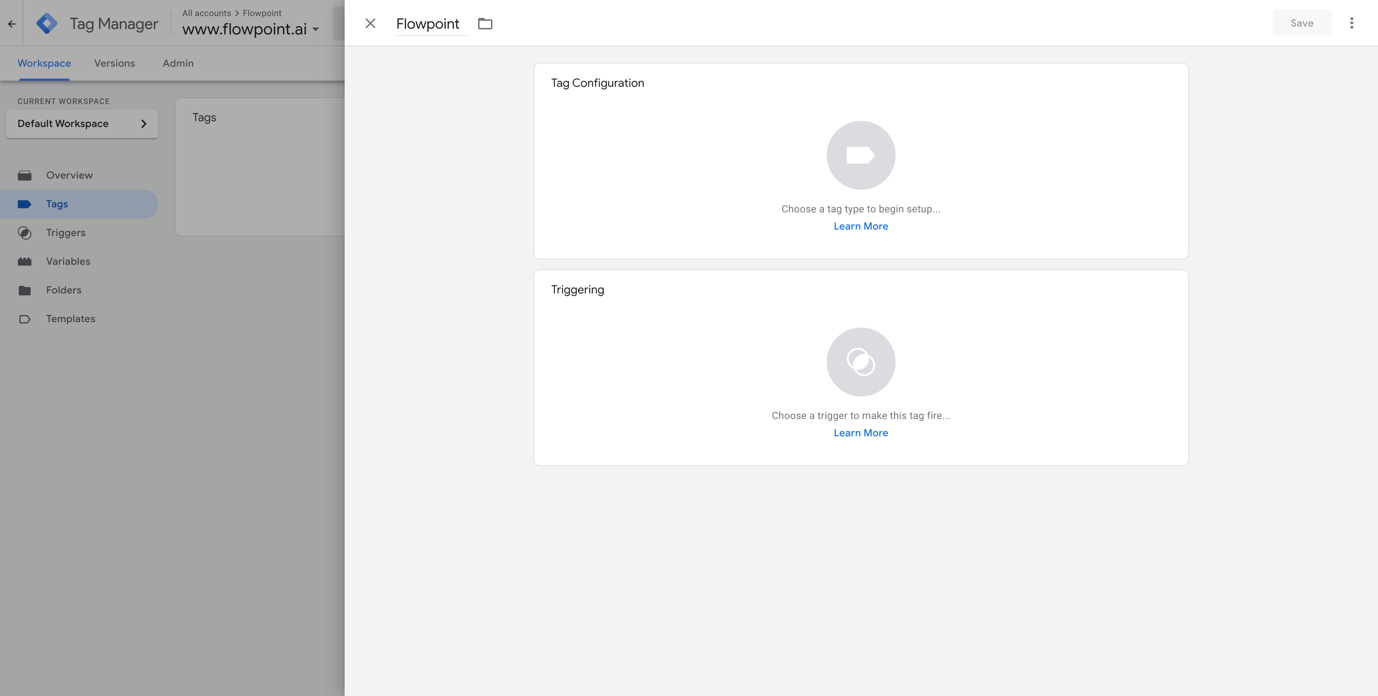
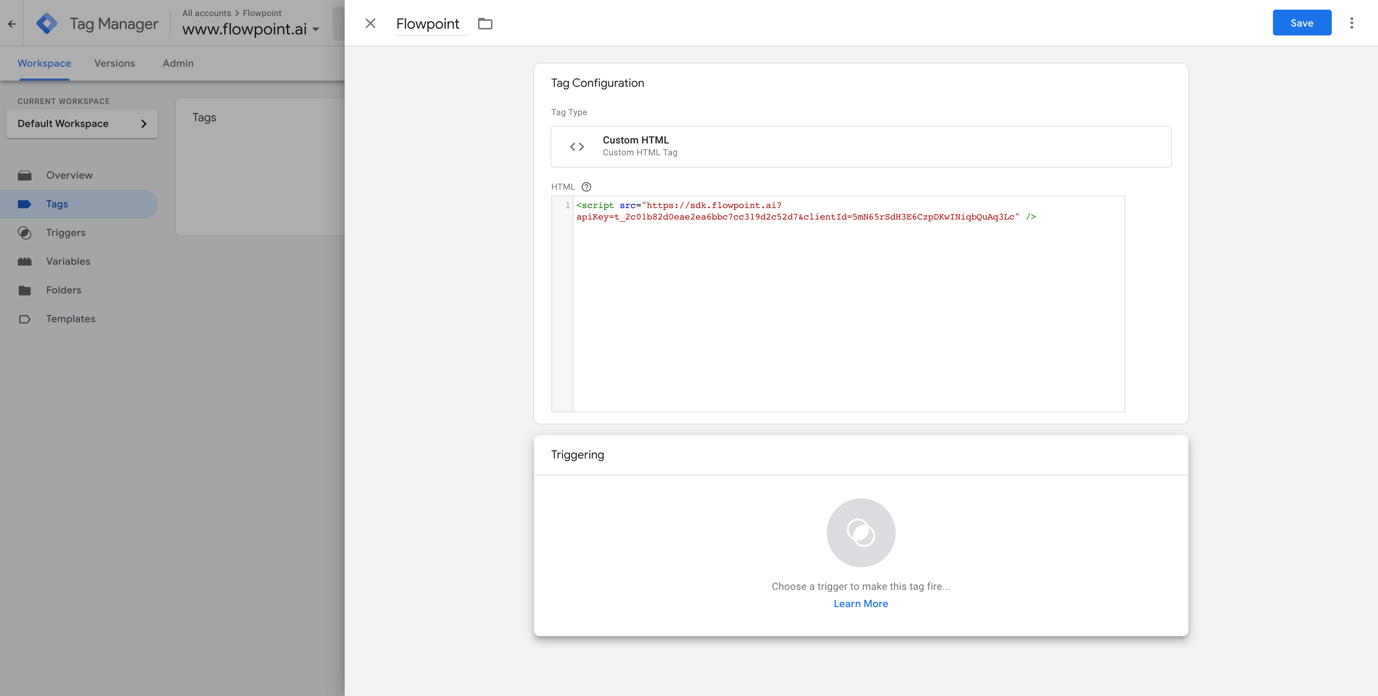
- Select “Custom HTML”

- Copy paste the Flowpoint script in the HTML section
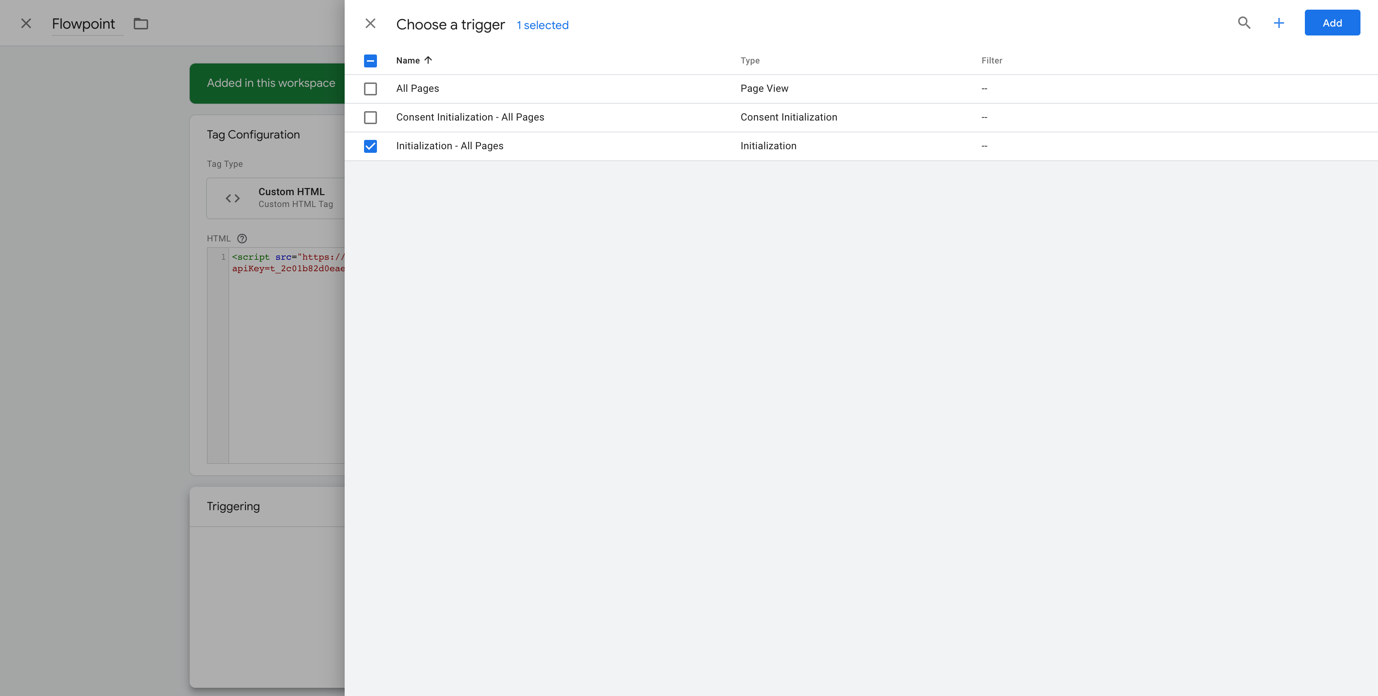
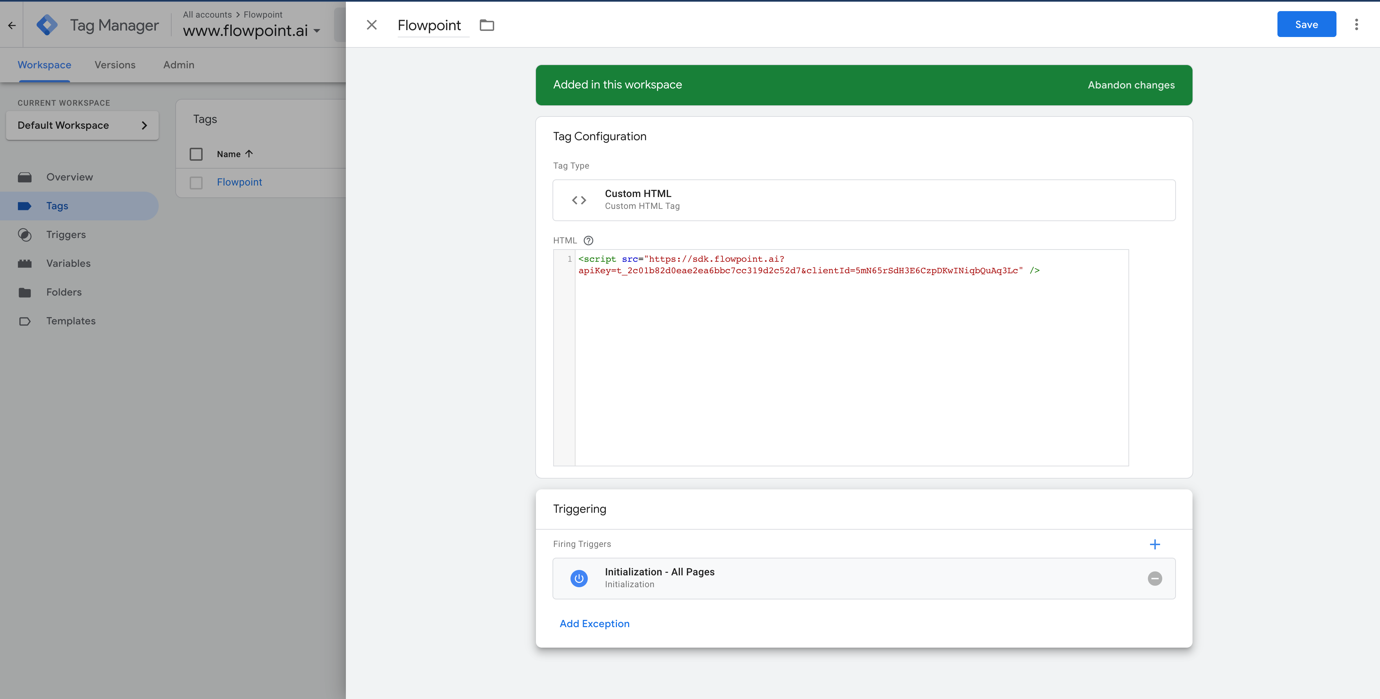
- From the “Trigger” section, click on the edit button and chose a trigger. Select “Initialization - All pages”, then click on Add
- Click on 'Save'
Once you are ready with the installation from this step, make sure you follow the next steps 2.3, 2.4 and 2.5
We are one click away if you need any help with the installation process. Don't hesistate to reach out.
Install in a custom website
React
- Go to your top level
public folder - Open the
index.htmlfile and paste your scrip.
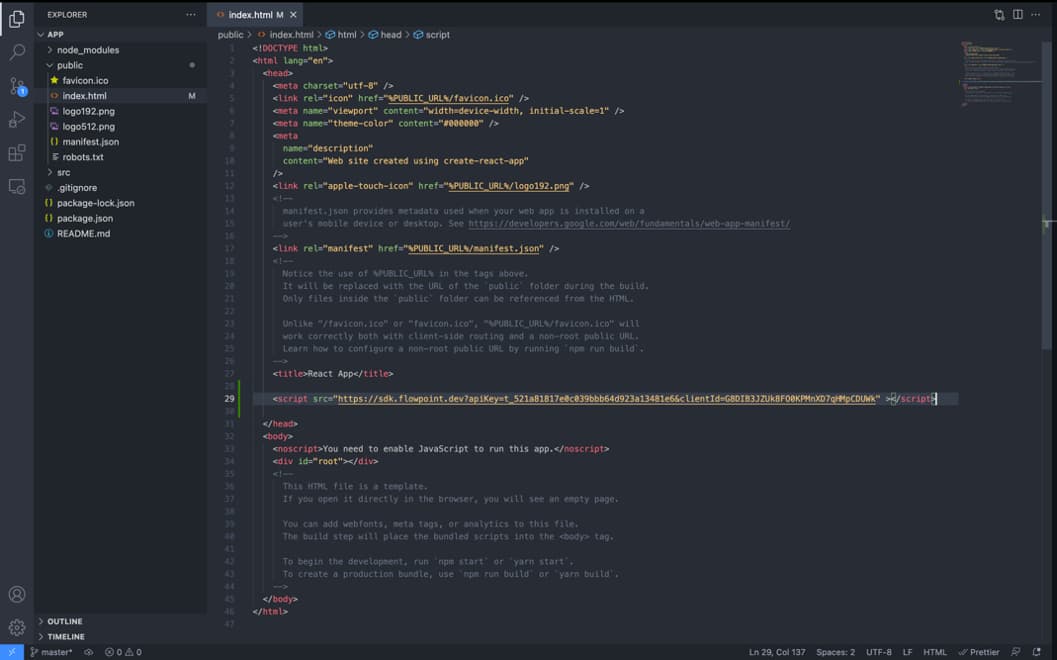
For more details regarding how to add a JS script into a react application please visit this link: https://www.codingdeft.com/posts/react-add-script/ (opens in a new tab).
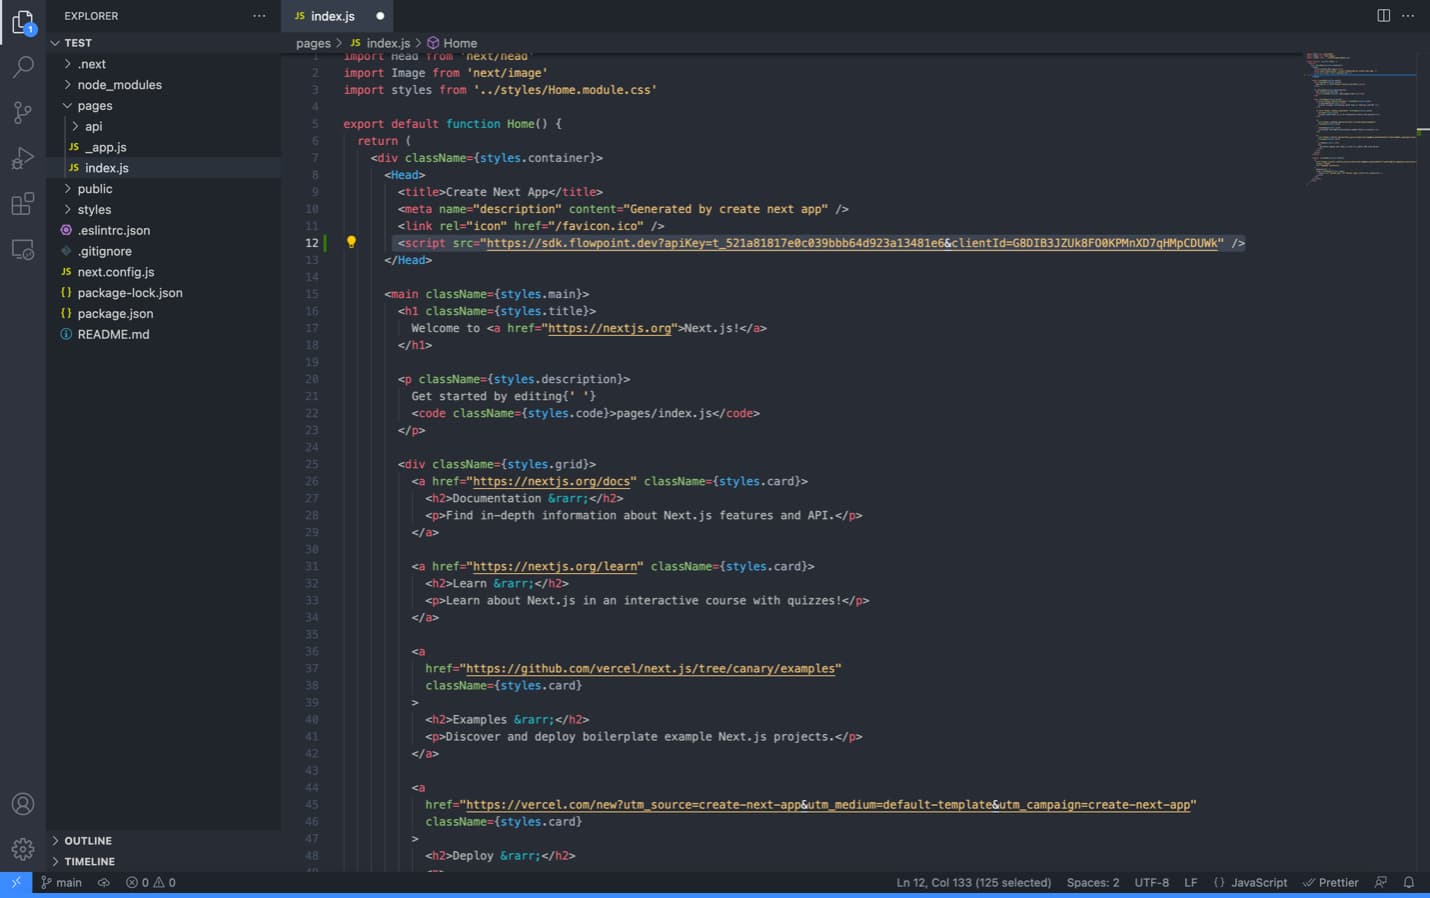
Next js
-
Go to your project folder into
pages/api/index.js -
Paste the Flowpoint script within the
<Head>tags
!> Or follow the best practice guide and:
import Script from 'next/script'
- Import the Script component from
next/script. This will allow a more efficient way of loading javascript tags into your next js application. - Load the Flowpoint script using the Script component as follows:
<Script src="https://sdk.flowpoint.ai?apiKey=<API_KEY>&clientId=<CLIENT_ID>" />

Vue
-
Go to your top level project folder
-
Go to
public/index.htmland paste the Flowpoint script into the<head>tag as in the image below:

For more information regarding how to integrate a JS script into a Vue JS application please visit the link below: https://www.programmingbasic.com/add-external-script-tags-in-vue-js-component (opens in a new tab).
Angular
-
Go to your top level project folder
-
Go to
src/index.htmlfile and paste the Flowpoint script into the<head>tag as in the image below:
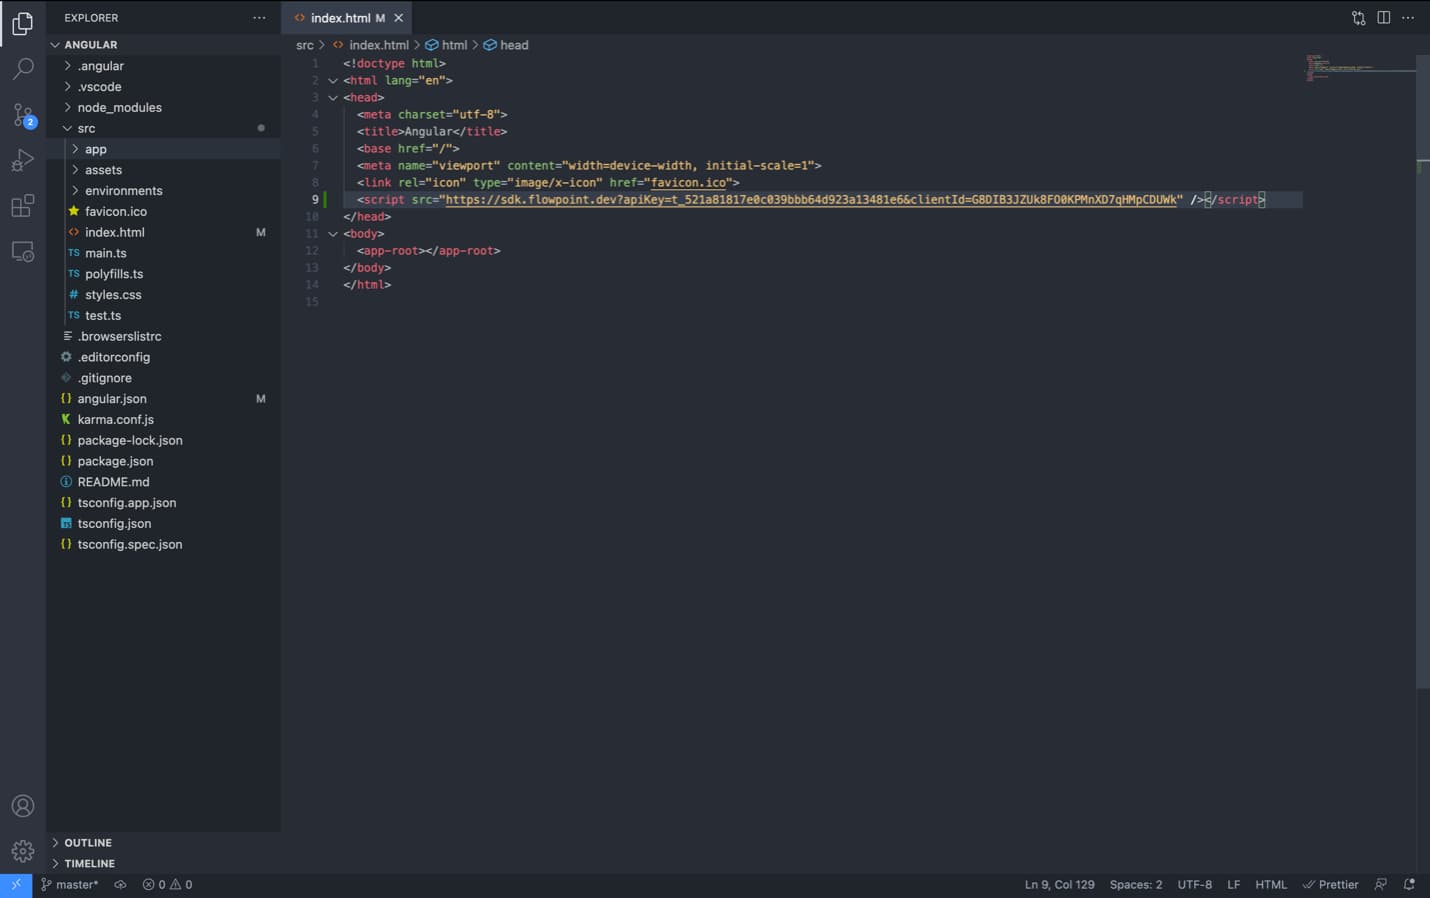
For more details regarding how to integrate a JS script into an Angular application please visit the link below: https://www.htmlgoodies.com/javascript/loading-external-scripts-dynamically-in-angular/ (opens in a new tab).
Install using a website builder
Wordpress
-
Go to your wordpress admin wp-admin dashboard by going to your websiteurl/wp-admin and log in with your wordpress credentials
-
On the left side bar go to Plugins and click on Add New
-
Search for the
Insert Headers and Footersplugin, install it and activate it. -
The plugin will appear on the left hand side in the side bar. Click on it and then go to
Header and Footer
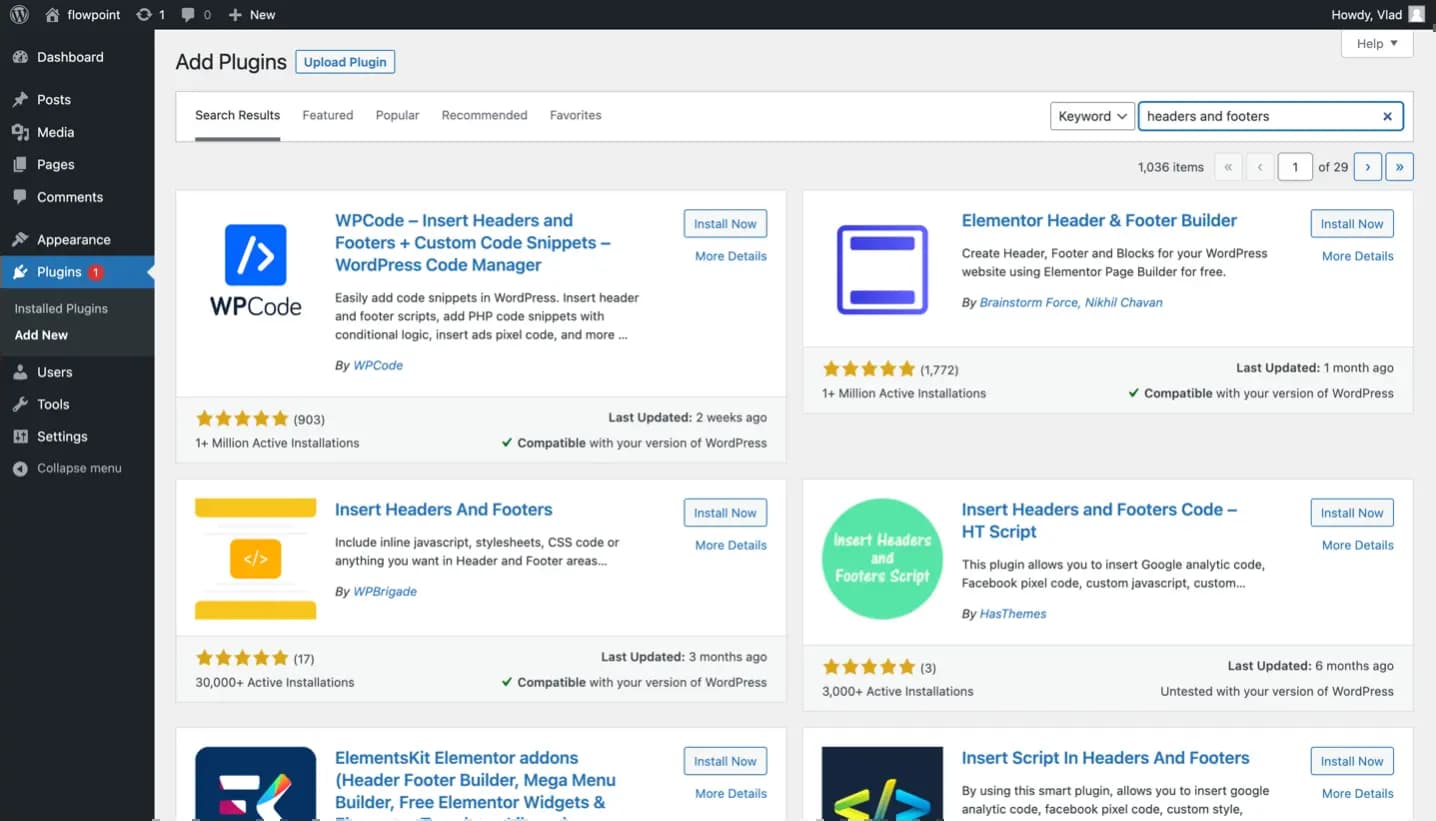
- In the header section paste the flowpoint script and then click on “Save changes”

Shopify
-
Go to your Shopify account
-
Under Sales channels click on Online store
-
Go to Themes
-
In your current team window click on the “Actions” dropdown and select edit code
-
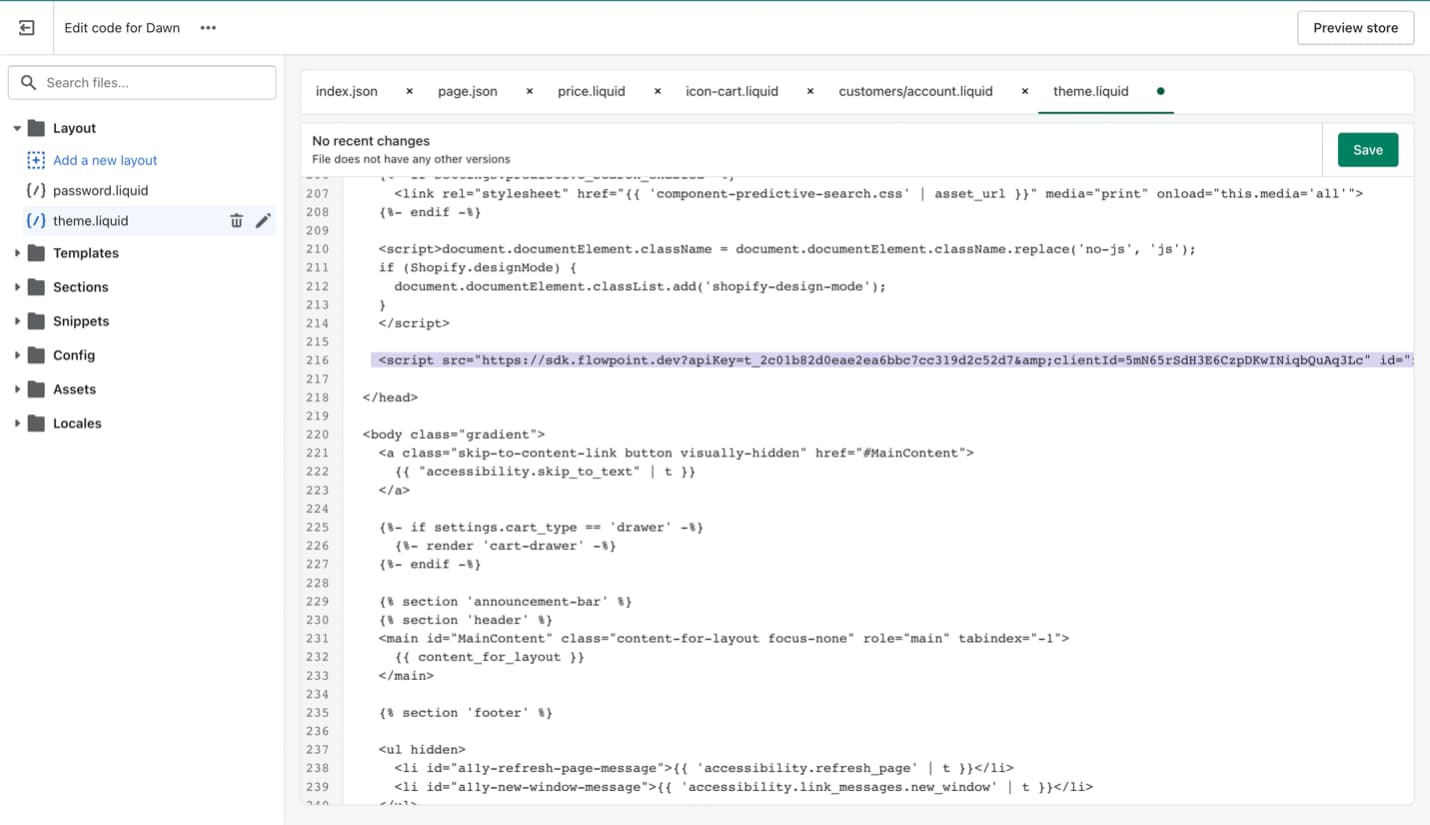
In the Layout folder, open the file theme.liquid
-
Find the starting of the head tag which is marked as
<head>and the closing of the head tag which is marked as</head> -
Right above the closing of the head tag paste in the Flowpoint script as follows:
Here are customizable files/folders of the project:
Wix
-
Go to your wix account
-
Go to settings and click on Custom code
-
Add the Flowpoint script in the header section